Introducing the HydePHP UI Kit: More TailwindCSS Components for Your HydePHP Projects
I'm excited to introduce the HydePHP UI Kit, released at long last, featuring a curated collection of minimalistic and un-opinionated TailwindCSS Laravel Blade components designed specifically for HydePHP projects, providing a set of versatile building blocks to enhance your web development experience.
Getting Started
Before diving into the UI kit, ensure you're familiar with Laravel Blade. You can also visit the full UI kit documentation.
Next, simply install the package using Composer:
composer require hyde/ui-kitA first look at the components
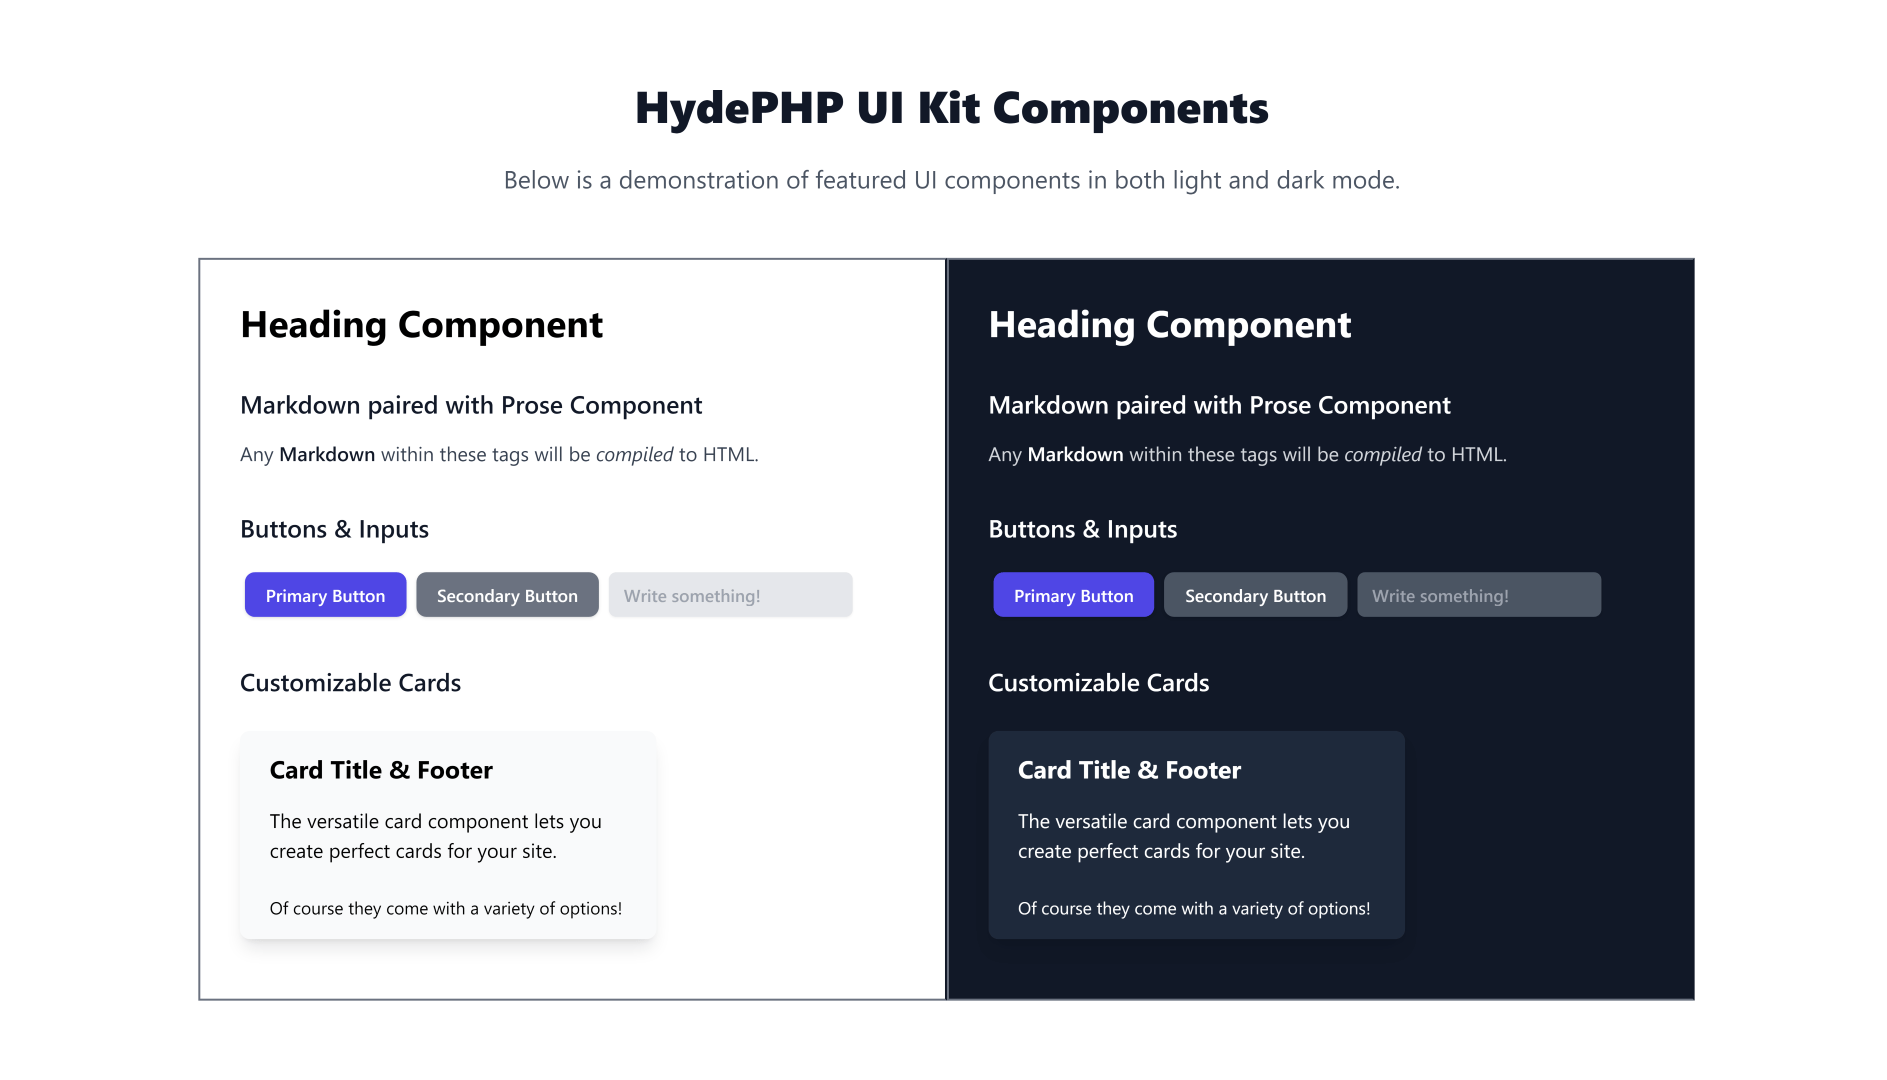
Here are some of the components you can use to build your next project! Of course, all components support both light and dark mode out of the box, just like the rest of HydePHP.
Buttons & Inputs
<x-hyde-ui::button-primary> Primary Button</x-hyde-ui::button-primary><x-hyde-ui::button-secondary> Secondary Button</x-hyde-ui::button-secondary><x-hyde-ui::input type="text" name="name" placeholder="Name" value="John Doe" />The base component <x-hyde-ui::input /> supports additional attributes, as seen in the example above.
Card
An incredibly versatile component with title and footer slots:
<x-hyde-ui::card> A card with some content.</x-hyde-ui::card>Combine components for more complex structures:
<x-hyde-ui::card> <x-slot name="title"> My Amazing Card </x-slot> A card with content and a footer with a button. <x-slot name="footer" class="text-center"> <x-hyde-ui::button-primary> Primary Button </x-hyde-ui::button-primary> </x-slot></x-hyde-ui::card>Typography Components
Heading
<x-hyde-ui::heading> Lorem ipsum dolor sit amet.</x-hyde-ui::heading>Prose
Create an <article> element with TailwindCSS Typography styles:
<x-hyde-ui::prose> <h2>Prose Heading</h2> <p>Prose paragraph</p></x-hyde-ui::prose>Markdown
Convert Markdown to HTML using the Hyde Markdown compiler:
<x-hyde-ui::markdown> ## Markdown Heading Hello world!</x-hyde-ui::markdown>Remember to wrap Markdown in the prose element for styling.
Putting It All Together
The HydePHP UI kit is intentionally minimal. It encourages you to mix and match components to build creative interfaces. Here's an idea to get you started: a customizable newsletter signup card:
<x-hyde-ui::card> <x-slot name="title"> Let your creativity flow! </x-slot> <x-slot name="main" style="padding-top: 0; padding-bottom: 0;"> <x-hyde-ui::prose> <x-hyde-ui::markdown> The UI kit is minimal by design. It's up to **you** to create something _amazing_. Maybe create a form to collect newsletter subscriptions? </x-hyde-ui::markdown> </x-hyde-ui::prose> </x-slot> <x-slot name="footer" class="text-center flex"> <x-hyde-ui::input placeholder="Enter email" /> <x-hyde-ui::button-primary> Subscribe </x-hyde-ui::button-primary> </x-slot></x-hyde-ui::card>
Explore the Documentation
For comprehensive information, including detailed usage examples and configuration options, check out the live documentation.
What's Next for HydePHP?
The HydePHP ecosystem is always expanding! If you enjoyed the UI Kit, be sure to explore our last release: the HydePHP GitHub Action. It's simply put the absolute easiest way to build and deploy your static sites!
Connect with Us
We're eager to see what you’ll create using the HydePHP UI Kit! Connect with us and other developers on Discord to share your projects, get help, or just chat. You can also Tweet us at @HydeFramework.
Have fun with the HydePHP UI Kit, and happy coding!
Syntax highlighting by Torchlight.dev