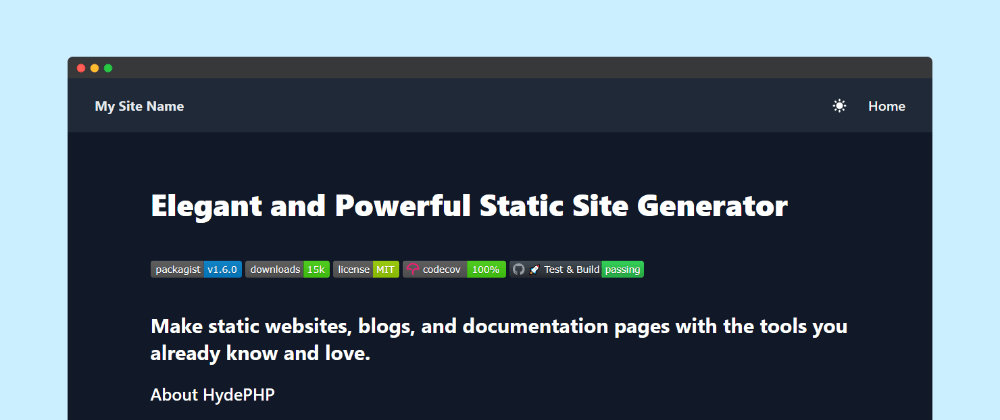
Creating a HydePHP site on GitHub Pages based on your Readme
Welcome to the HydePHP blog! Today, we're going to show you how to create a simple static site from your GitHub project's README.md file using HydePHP and deploy it using GitHub Pages.
In case you're not already familiar, HydePHP is a static site generator that combines the power of Laravel with the simplicity of Markdown. With just a few steps, your next website is minutes away from becoming a reality.
Getting Started
Prerequisites
- A GitHub repository with a
README.mdfile. - GitHub Actions enabled for your repository.
- GitHub Pages enabled for your repository.
Step-by-Step Guide
1. Create the Workflow File
First, we need to set up a GitHub Actions workflow file. Create a new file named .github/workflows/build.yml in your repository. This workflow will handle the process of converting your README.md into a static site and deploying it to GitHub Pages.
Here is the example workflow:
name: Build Documentation from Readme on: push: branches: [ "main" ] # Make sure this matches your default branch jobs: build: runs-on: ubuntu-latest permissions: contents: read pages: write id-token: write steps: - uses: actions/checkout@v3 - name: Create site from Readme run: | # Here we set up the HydePHP source files to use the README.md as the index page mkdir _pages mv README.md _pages/index.md rm -rf !'_pages' - name: Create Hyde config run: | # Configure the site name echo 'name: My Site Name' >> hyde.yml # Optionally, load styles from the CDN echo 'load_app_styles_from_cdn: true' >> hyde.yml # Optionally, use Highlight.js for syntax highlighting echo "scripts: '<link rel=\"stylesheet\" href=\"https://cdn.jsdelivr.net/gh/highlightjs/[email protected]/build/styles/atom-one-dark.min.css\"> <script src=\"https://cdn.jsdelivr.net/gh/highlightjs/[email protected]/build/highlight.min.js\"></script> <script>hljs.highlightAll();</script> <style>.prose :where(pre) { background-color: #282c34; } </style> <style>pre code.hljs { padding: 0; }</style>'" >> hyde.yml - uses: hydephp/action@master with: deploy-to: "pages"This workflow performs the following steps:
- Checks out the repository.
- Moves the
README.mdfile to the_pagesdirectory and renames it toindex.md. - Creates a basic HydePHP configuration file (
hyde.yml) with the site name and optional style settings. - Uses the HydePHP GitHub Action to build the site and deploy it to GitHub Pages.
2. Enable GitHub Pages
To deploy your static site, you need to enable GitHub Pages in your repository settings. Follow these steps:
- Go to the Settings tab of your repository.
- Click on the Pages tab in the sidebar.
- Under Build and deployment, select GitHub Actions from the Source dropdown.
This step allows the HydePHP GitHub Action to deploy your site directly to GitHub Pages.
Why HydePHP?
HydePHP offers a fast and convenient way to create and deploy static sites. Here are some key benefits:
- Ease of Use: HydePHP is incredibly easy to set up and use, making it perfect for quick project landing pages or documentation sites, with plenty of room to grow, thanks to its Laravel foundation.
- Bundled Frontend: You don't need to design any HTML or write any JavaScript or CSS. HydePHP comes with a beautiful, responsive Tailwind frontend out of the box.
- Powerful Features: While simple to start, HydePHP can scale to support more advanced features as your project grows. And of course, every single part of HydePHP is customizable to your liking.
Conclusion
In just a few steps, you've learned how to create a static site from your README.md file using HydePHP and deploy it with GitHub Actions. This method is perfect for getting a landing page up and running quickly for your open-source projects. HydePHP is here to make web development fun and smooth again!
We hope this tutorial helps you get started with HydePHP. Happy building!
Additional Resources
For more information, visit the HydePHP GitHub Action documentation.
If you have any questions or run into issues, feel free to reach out to the HydePHP community for support at any of the following channels: GitHub | Discord | Twitter
Please note that HydePHP is not affiliated with GitHub or GitHub Pages. GitHub terms and fees may apply. At the time of writing, GitHub Actions and GitHub Pages offer free tiers for public repositories.
Syntax highlighting by Torchlight.dev
