This blog post will guide you through creating a new Hyde site, while also showcasing some neat features!
Introduction
HydePHP is a new Static Site/App Generator written in PHP. Hyde adapts to your skill level and needs, allowing you to stick to creating content with just Markdown, as well as giving you full control by using Laravel Blade.
This blog post will guide you through creating a new Hyde site, while also showcasing some neat features!
Prerequisites
This guide assumes you have Composer and NPM installed. You also need PHP 8 or higher. Previous command-line experience won't hurt either since we will be using the CLI a lot. I'm using Windows PowerShell here, but you can follow along with Bash as well.
This guide will mostly be example-driven. If you have any questions, send me a tweet at @EmmaDSCodes.
Creating a new project
Creating a site with Hyde is easy, especially when using Composer!
composer create-project hyde/hyde tutorial-demoThis command will create a new directory named tutorial-demo containing
the base Hyde app which includes everything you need to get started.
You can omit the
tutorial-demopart to keep the default directory name ofhyde. However, this guide assumes the directory is namedtutorial-demo, so substitute that for whatever your directory is named.
Next, enter the created directory using the command cd tutorial-demo.
We can compile the static site right away. To do this we use the HydeCLI to run the command in our terminal.
php hyde buildThis will compile the default welcome page stored in _pages/index.blade.php.
The static site files are stored in _site/ which now contains an index.html file.
Let's open it up in our browser and take a look!
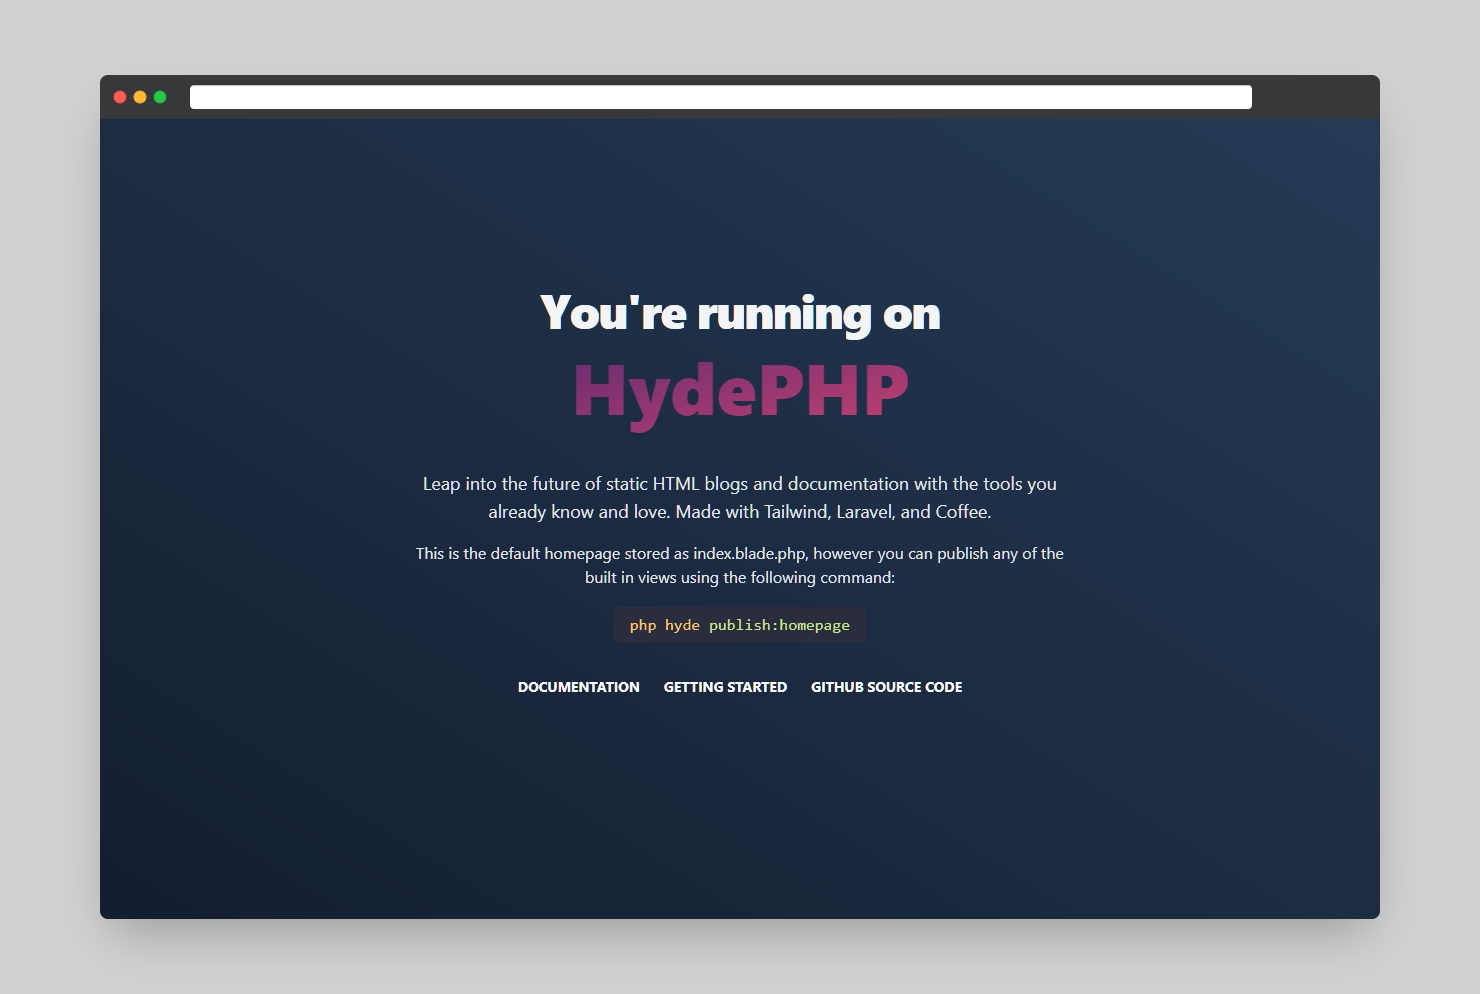
Amazing! We probably don't want to keep this welcome screen though. Let's create a blog!
Setting up the blog homepage
Hyde comes with a built-in blog module that allows you to create static HTML blog posts using Markdown.
First, let's change our homepage to use the automated post feed.
Hyde comes with a few different options to use as the index.html. The one we have right now, the default, is called 'welcome'.
We can change our homepage using the following Hyde command which will present us with a few options.
php hyde publish:homepageWe'll select the one named 'posts'.

This will save the 'posts' template to the _pages/index.blade.php file.
We will be asked if we want to rebuild the site, let's hit 'yes' and take a look at the new compiled index.html file.
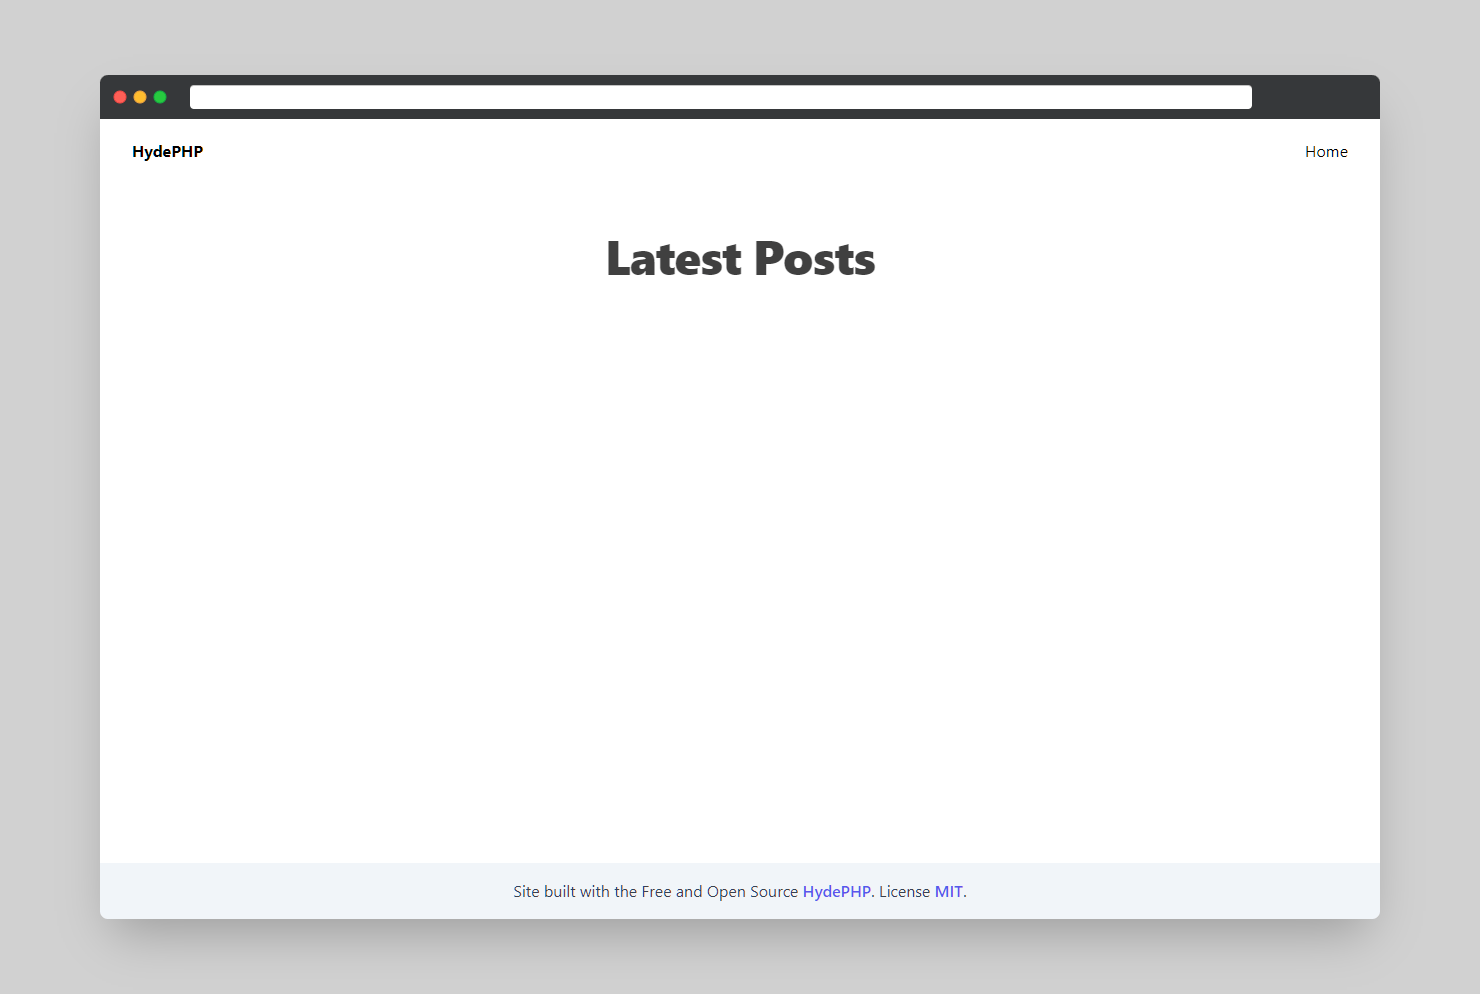
Cool! Though it looks a bit empty. Let's create a post!
Pro tip: If you want to have a custom landing page but still have a blog, a great idea is to rename the published Blade file to
posts.blade.php! Since Hyde is component-based you can also include the Blade posts component in any other template.
Creating a blog post
Blog posts are created on Markdown files stored in the _posts directory.
You can specify post information (metadata) in a special YAML format called Front Matter.
We can of course create the Markdown files manually but that is so old fashioned. Instead, let's use the interactive Hyde command to scaffold it for us!
The command we are using is the php hyde make:post command,
which gives asks us for input and then generates the boring stuff for us.
It will then create a Markdown file containing our input as front matter.
php hyde make:post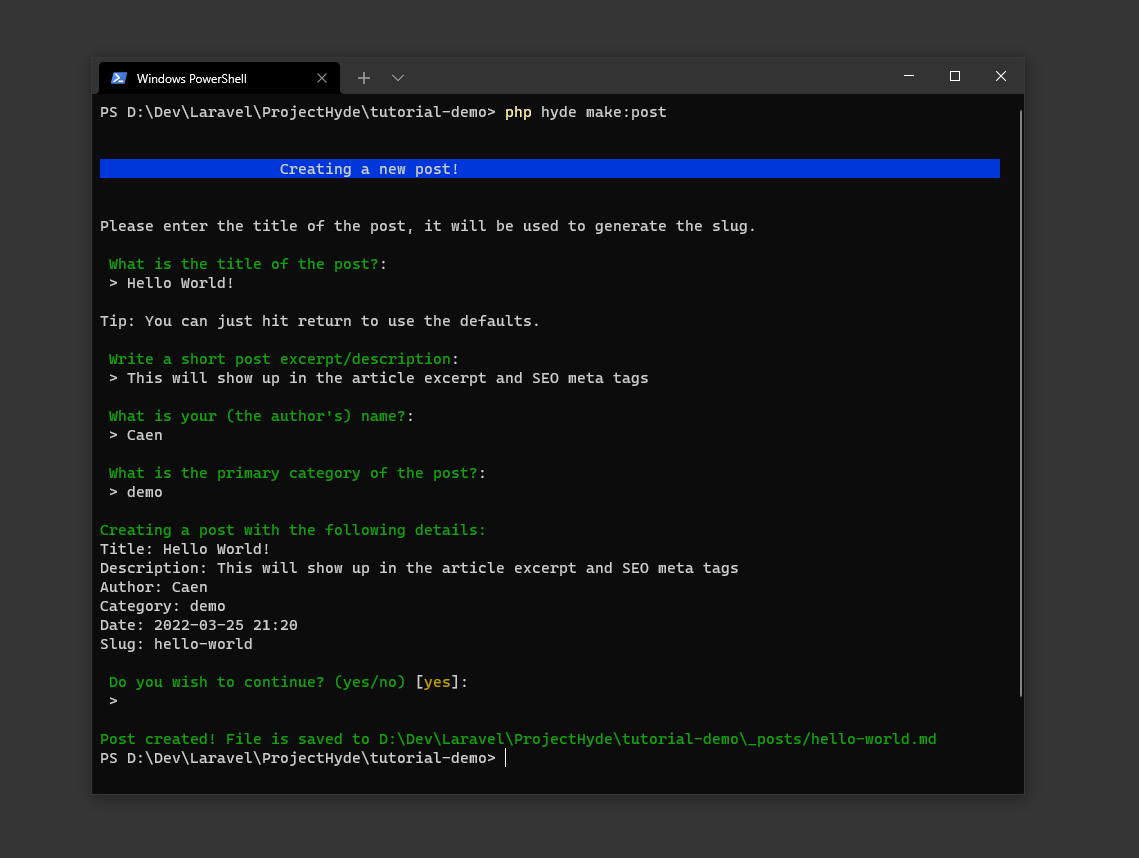
Let's take a look at the file that was created for us! As you can see it is stored in the _posts directory. A slug was automatically created from the title and the date was automatically parsed from the current time.
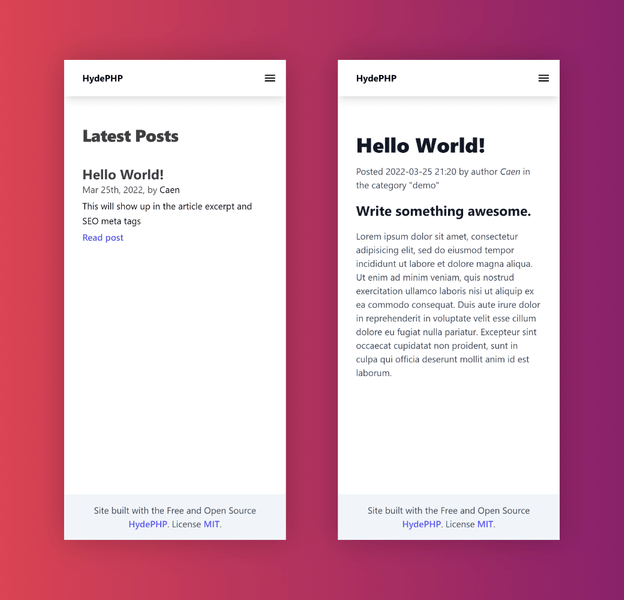
---title: Hello World!description: This will show up in the article excerpt and SEO meta tagscategory: demoauthor: Emmadate: 2022-03-25 21:20--- ## Write something awesome.Let's rebuild the site and take a look!
php hyde buildAs you can see, the excerpt automatically shows up in the feed on the homepage! I also added some extra text in the Markdown section to populate the post.
Creating a Markdown page
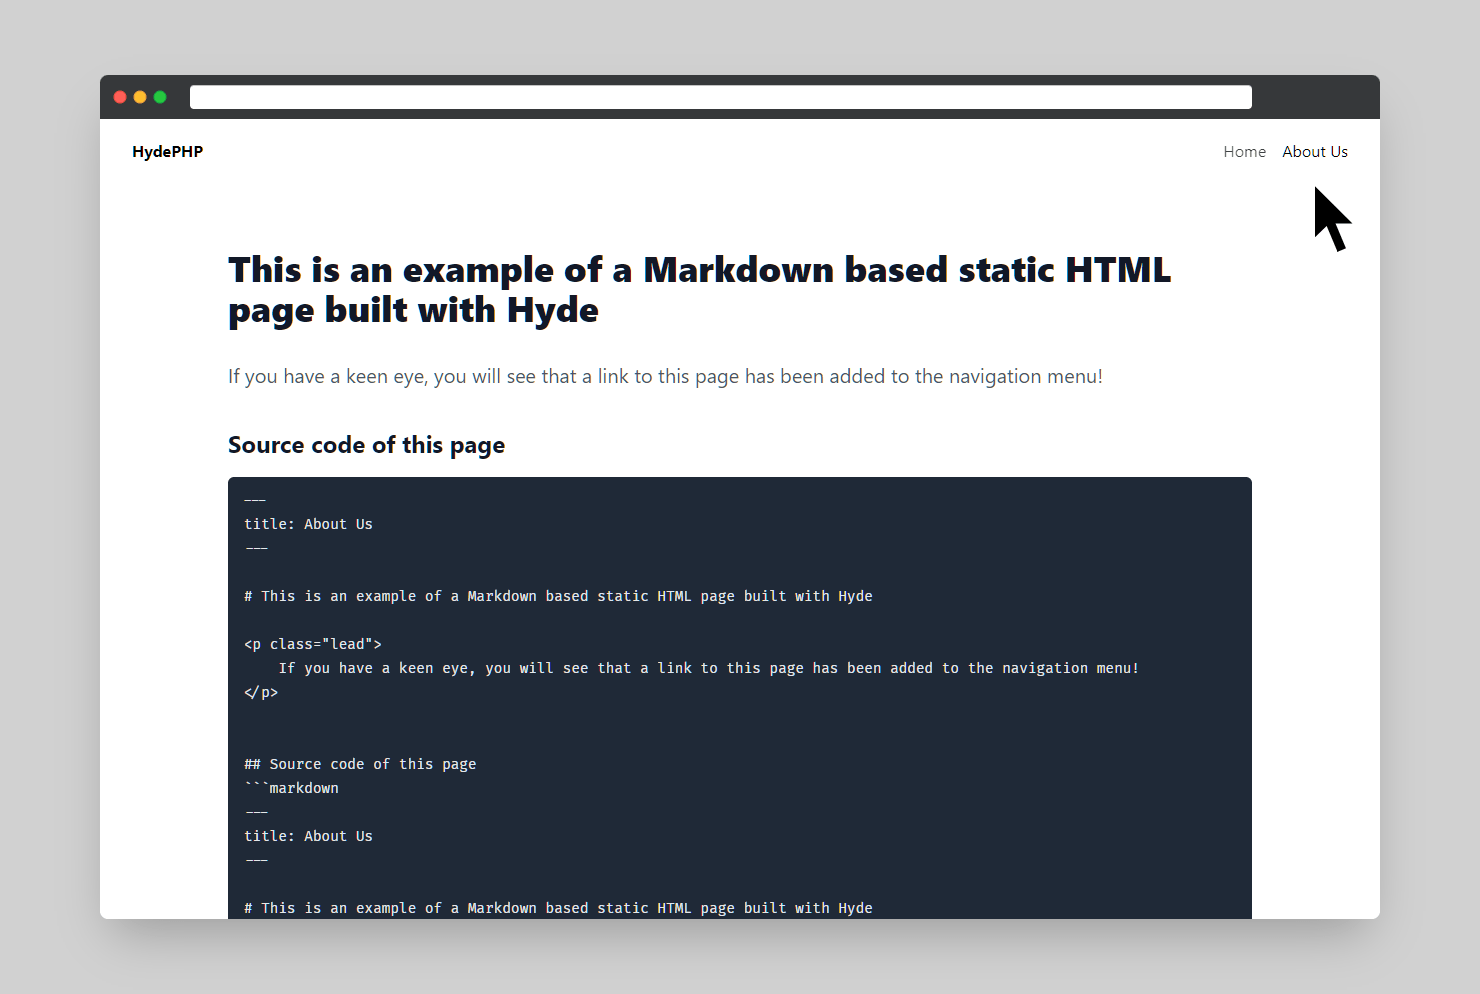
Now that we have a nice blog post, why not try our hand at creating an about us page?
Hyde allows the creation of simple Markdown based pages. Files in the _pages directory are automatically compiled into static HTML.
Let's try it!
I'll use the command line to create the file as we can use the make:command like before. Currently, Markdown pages only use the title front matter option, so we can pass it in as an argument.
php hyde make:page "About Us"This creates a file saved as _pages/about-us.md with the following content:
---title: About Us--- # About UsI'll add some extra content for demo purposes and then rebuild the site.
Markdown pages are great for rapidly building simple pages, but they can be a bit limiting. Since Hyde is based on Laravel, we can use Blade views to create more complex pages.
Creating a custom Blade page
I'm getting a bit bored of the Markdown About Us page we created earlier. Let's swap it out with a page based on a Blade view!
Creating Blade pages is similar to creating Markdown pages,
but instead of using the .md extension, we use the .blade.php extension.
Let's create the file using the CLI. We can use the same command as before, but we'll need to specify that we want to create a Blade page.
php hyde make:page "About Us" --type="blade"Let's take a look at the file that was saved as _pages/about-us.blade.php.
@extends('hyde::layouts.app')@section('content')@php($title = "About Us") <main class="mx-auto max-w-7xl py-16 px-8"> <h1 class="text-center text-3xl font-bold">About Us</h1></main> @endsectionAs you can see, the default layout is used, that way we get all the base styling. The page title and heading are set to the title we passed in.
Remember that if you add any new Tailwind classes you will need to run the
npm run dev/prodto apply them.
When writing Blade pages you have a few options since we can utilize the full power Laravel brings us. If you want you can skip using Blade and just write pure HTML (like the welcome page), or you can use Blade templates and components (like the post feed page).
Document the documentation!
Documentation is important! As the saying goes, "if a feature is not documented, it does not exist.".
"But writing documentation is soooo boring" you might say, and to that, I say, "not with Hyde!"
You heard me! Writing documentation is fun again! Best of all? It is dead simple.
The Hyde Docgen module is based on Laradocgen and automagically turns Markdown pages into documentation pages. It is also what powers the Hyde documentation site!
Creating documentation pages is a piece of cake. We start by creating a file following the format of kebab-case-version-of-the-title.md in the _docs directory. We don't even need any front matter.
echo "# Hello World!" > _docs/hello-world.mdWe can run the rebuild command to save time by compiling just the page we created.
php hyde rebuild _docs/hello-world.mdThe page will then be saved in _site/docs/hello-world.html.
The sidebar will like magic be populated with all the documentation pages. The page titles in the sidebar are generated from the filename, and the HTML page title is inferred from the first H1 tag unless you specify the title front matter. If no H1 tag is found, the page title is set to the filename.
Wanna know another cool thing? If you create a file in the _docs directory named index.md or readme.md, a link labelled docs linking to it will be added automatically to the main navigation menu!
And if you create an index.md file here, which is recommended, it will not be shown as a link in the sidebar but instead, the header in the sidebar will link to it.
In the Hyde documentation site I am using the project readme as the
index.mdfile
Adding Torchlight Syntax Highlighting
Our documentation is cool and all that, but I want to add lots of code examples, and they look so boring without syntax highlighting...
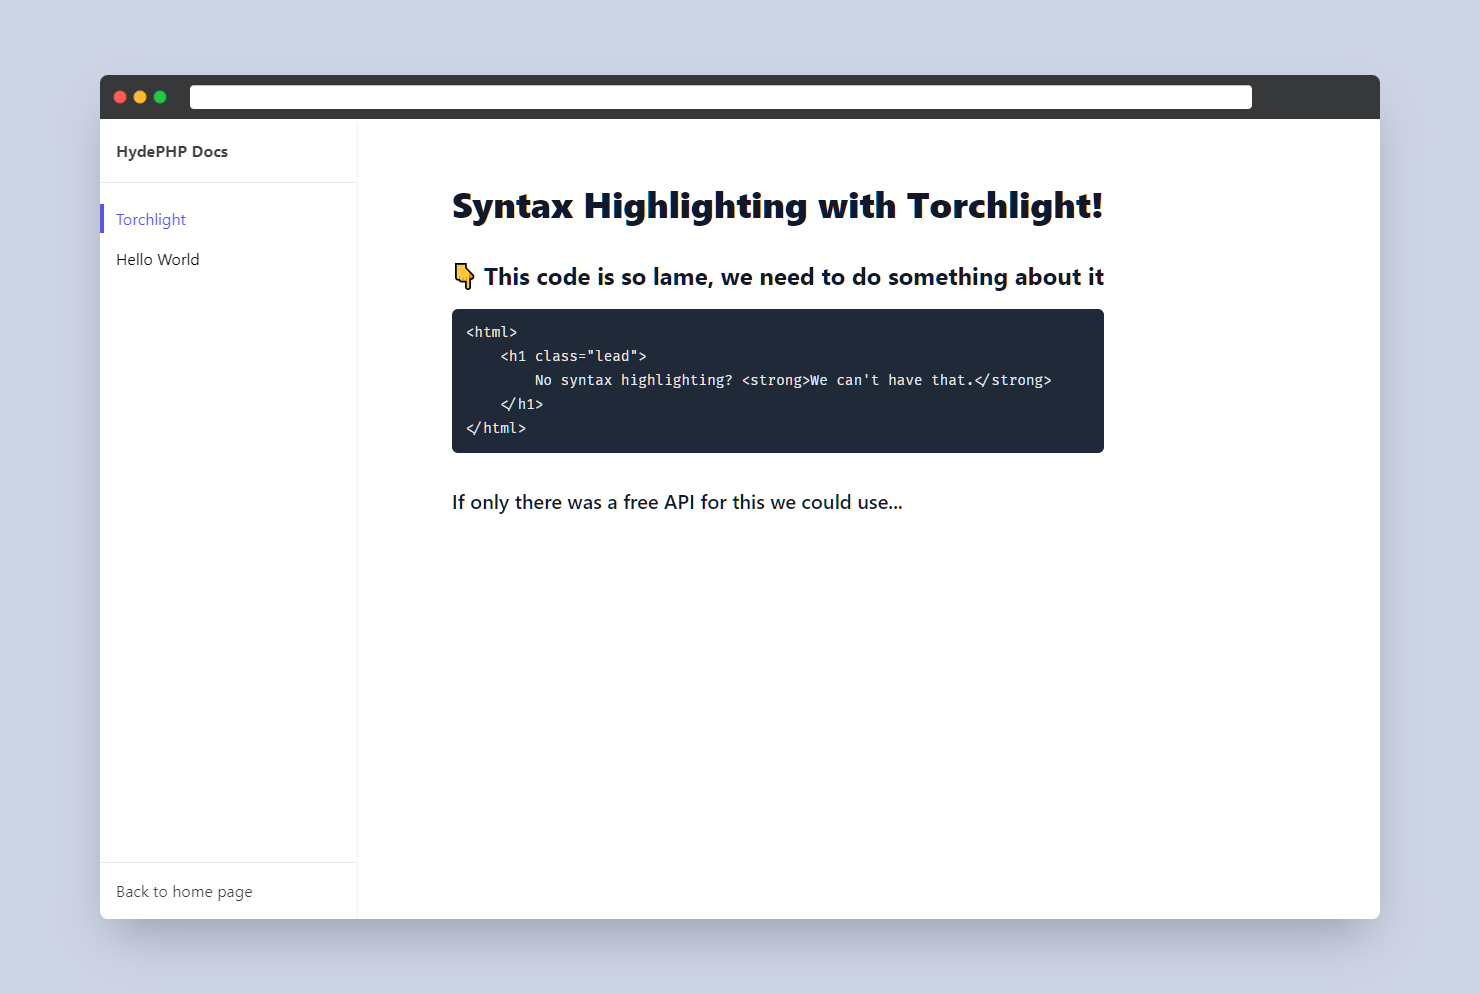
Let's fix this. Hyde has built-in support for one of my favourite packages: Torchlight.
Torchlight is free for open source and non-commercial projects as long as you use an attribution link, which Hyde injects automatically on pages that use Torchlight (unless disabled in the config).
To get started you need an API token from Torchlight which you can get for free on their website: torchlight.dev.
Once you have the token you need to set it in your .env file.
If you don't have one you can copy the example file supplied with the project using this command
(or by renaming/copying it manually, alternatively just create a new file called .env):
cp .env.example .env ## ortouch .envThen in the .env file, add your API token like so:
TORCHLIGHT_TOKEN=torch_abcdefg123What's even cooler is that adding the token makes Hyde automatically enable the Torchlight CommonMark extension.
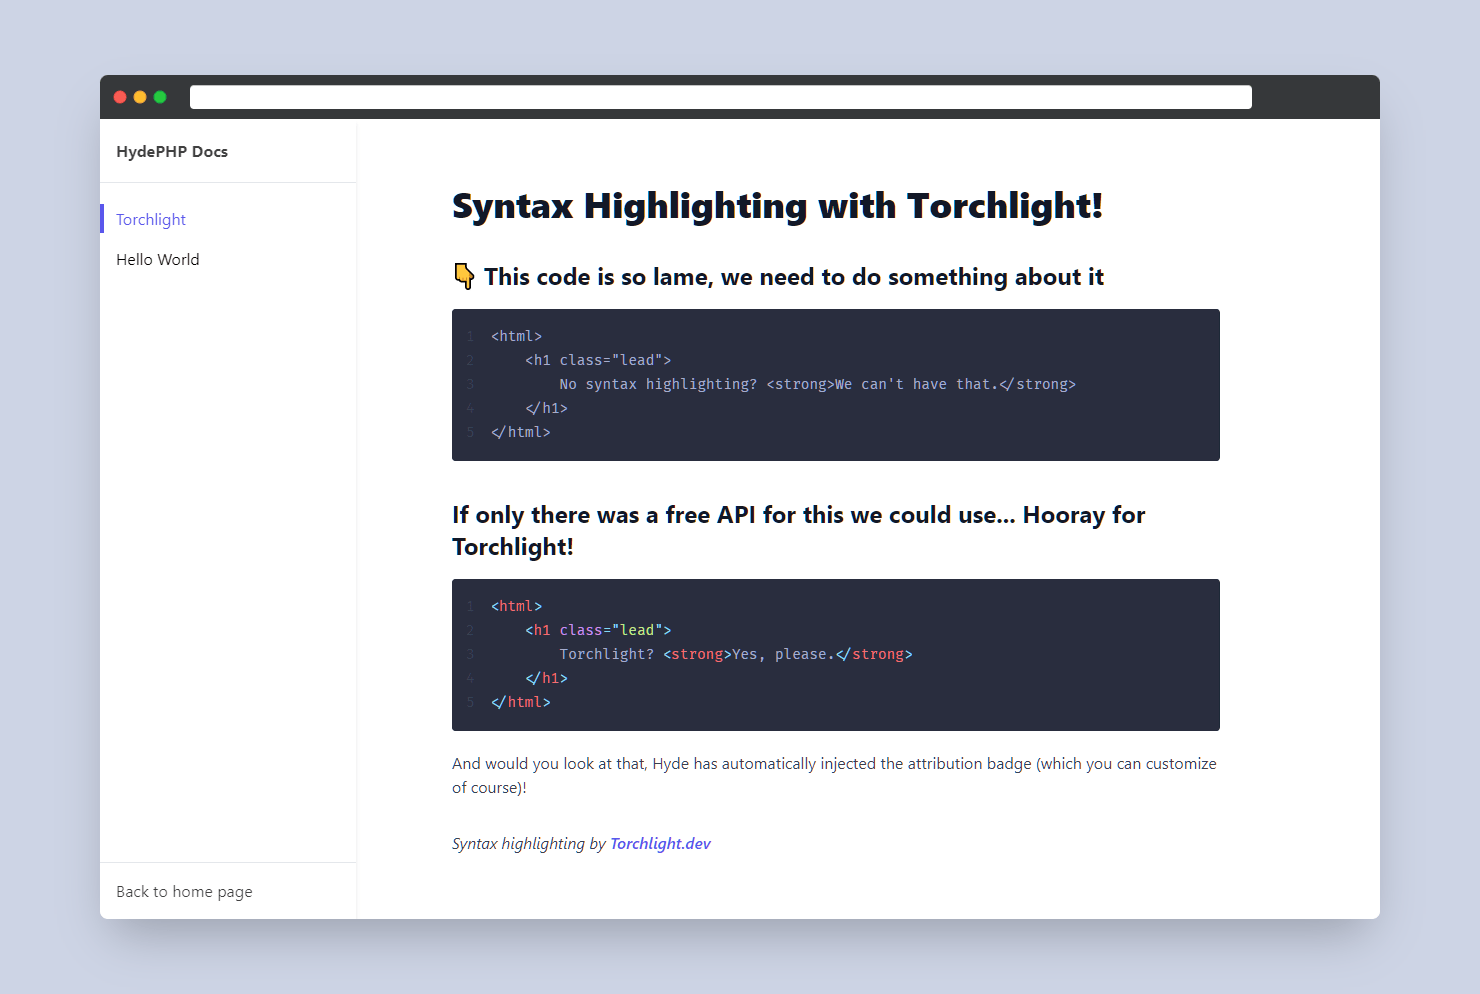
Now when we run the build command you will notice it takes a bit longer, especially the first time, but no sweat because we got ourselves some beautiful code snippets!
Conclusion
I think that brings this tutorial to a close. Send me a Tweet if you have any questions or suggestions! I'm @EmmaDSCodes.
- The homepage for Hyde is hydephp.com.
- The documentation is hosted at hydephp.com/docs.
- Find the source code on GitHub.
Syntax highlighting by Torchlight.dev